WooCommerce Implementation
WordPress is a popular Content Management System (CMS) that allows their customers to host and build websites rapidly and easily. WordPress has a plugin architecture and a template system that allow web developers to customize any website to fit their business, blogs, portfolios, and online stores. It is worth mentioning that almost 43% of the web is built on WordPress.
WooCommerce is a customizable, open-source eCommerce platform built on WordPress to add the ecommerce functionality to WordPress websites.
To read more about these platforms, WordPress and WooCommerce provide complete information on their official websites.
In this guide we will implement the Cylindo Viewer 5 into a webshop running the WooCommerce and the WordPress platforms.
Environment preparation
1. Install WooCommerce and WordPress
For this tutorial Cylindo’s customers should have the WordPress platform and the WooCommerce plugin installed in their servers.
Follow the installation guide provided by WooCommerce and WordPress on their official sites.
If it is not installed, it must be installed following the installation guides provided by
For this example we’ve installed WordPress version 6.0.1 and WooCommerce version 6.8.0.
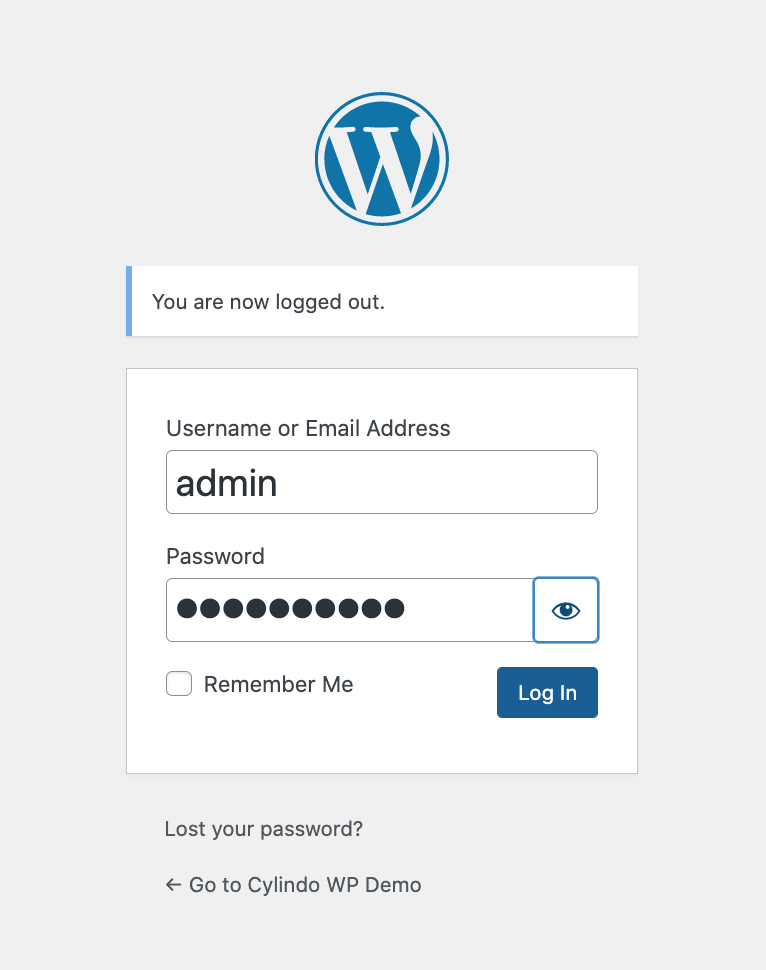
2. Login into the admin panel of the WordPress instance
3. Create product attributes and terms for WooCommerce products
In order to have a seamless integration between Cylindo and WooCommerce platforms, it's essential to align their terminologies and product structures. Below is a table showcasing the terminology correspondence:
| WooCommerce | Cylindo |
|---|---|
| Attributes | Features |
| Terms | Feature Options (Materials) |
| Name | Name |
| Slug | Code |
For this example we’re using a product named EMMA_ARMCHAIR. This product has specific features and options as outlined below:
| Feature | Option 1 | Option 2 |
|---|---|---|
| Upholstery | Green | Blue |
| Legs | Metal legs | Round legs Oiled Walnut |
So, before we generate a Viewer 5 instance, we need to make sure that we have the same information stored on both platforms, Cylindo and WooCommerce. We already have the product created on the Cylindo side, so we’ll part from creating the product and its structure in WooCommerce.
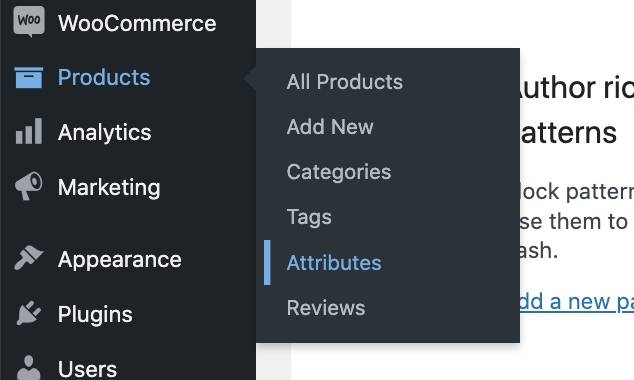
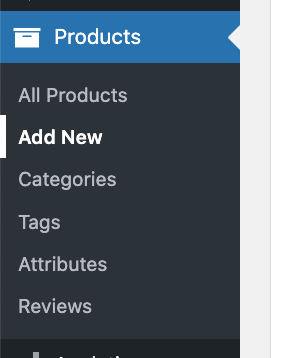
To create the product attributes in WooCommerce we need to open the Attributes panel using the Admin sidebar, the Attributes module can be opened through the Products options from the main menu.
The module displayed contains 2 panels, the left panel allows us to create a new attribute, while the right panel allows us to see the existing attributes and the terms for the attribute. To create a new attribute, fill the information in the left panel using the Cylindo’s Feature Name as Name and and the Cylindo’s Feature Code as slug, So for example for this case we filled the Values for the Upholstery feature:
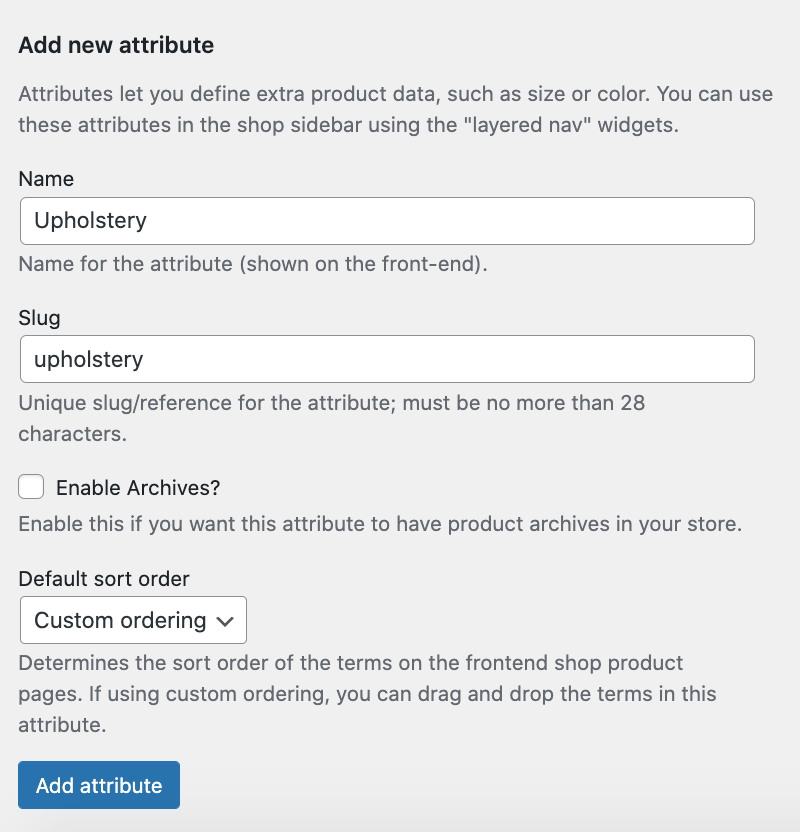
By default WooCommerce stores the slugs in lowercase while the Cylindo platform stores them in uppercase, it is not a problem because the Cylindo core converts all codes to uppercase internally so don’t worry about this difference because at the end of the process all codes will use the same structure. It is also worth mentioning that WooCommerce uses hyphens instead of white spaces for the slugs so if the Cylindo platform shows white spaces for your codes please contact the support to fix them on our side.
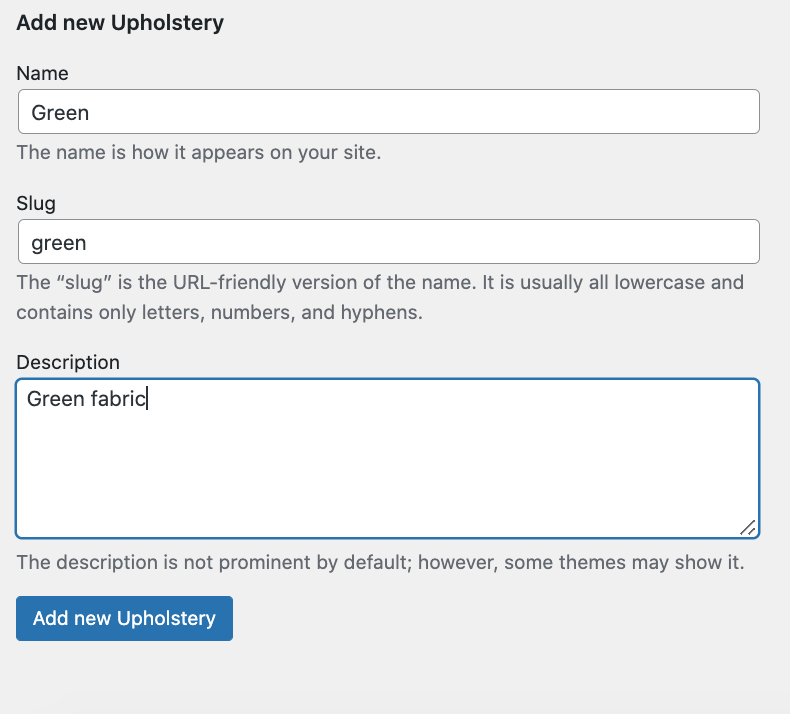
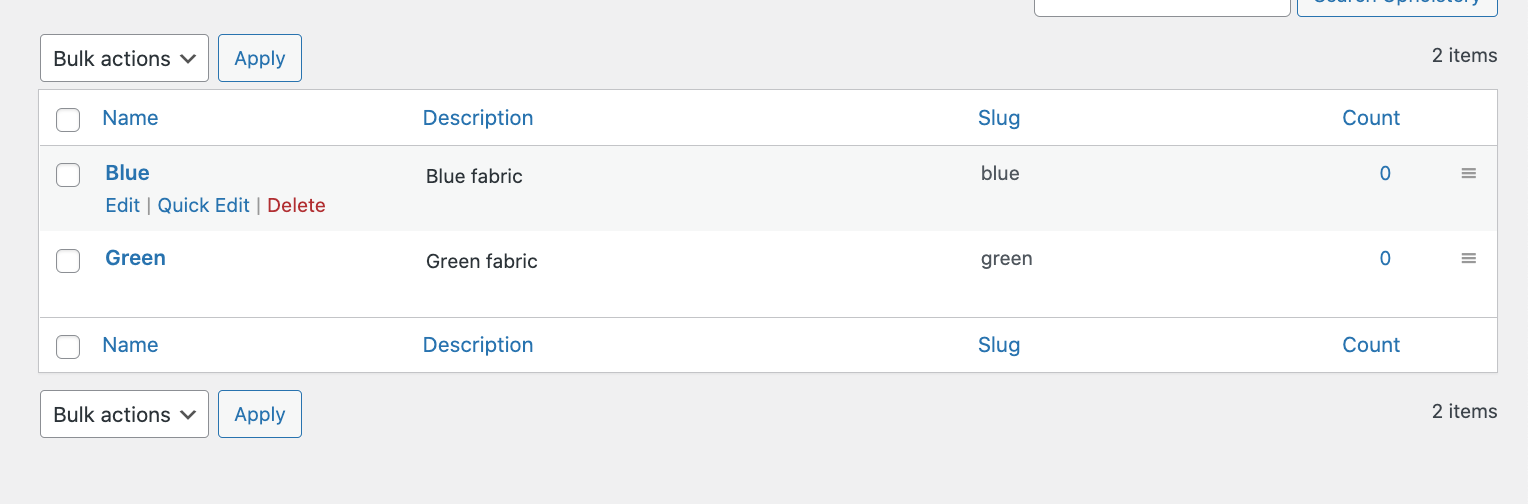
When both features are created (In this example Legs and Upholstery) they’re displayed in the right panel so for the next step we need to add the terms by clicking the Configure terms link displayed in Terms column from the table:

In the displayed form, fill the term using the Option name and Code provided by Cylindo:
When all terms per attribute are set, the right panel will show them in the same way attributes were displayed:
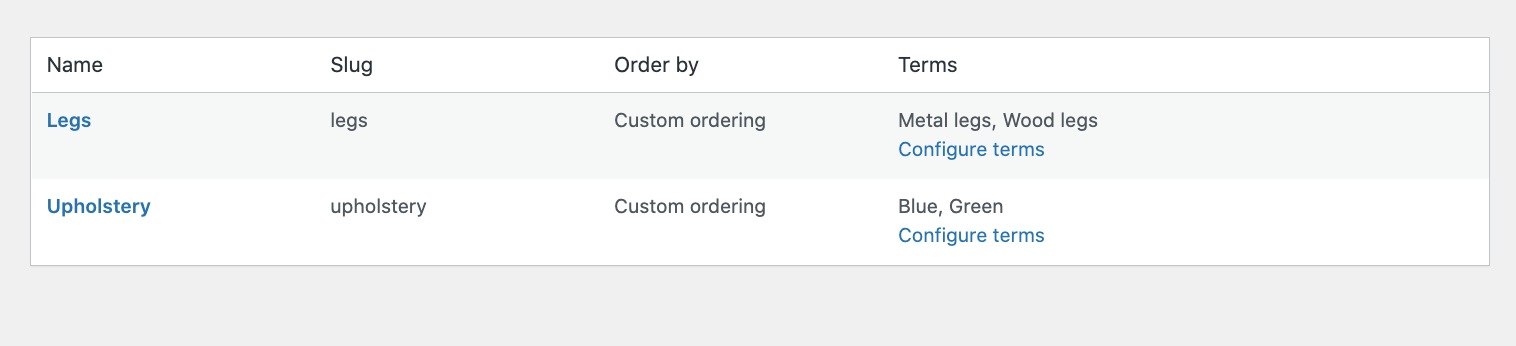
When all attributes and terms are configured, they will be displayed in the attributes list, like this:
4. Create a product and apply attributes
Click the Add new button from the admin panel of WordPress:
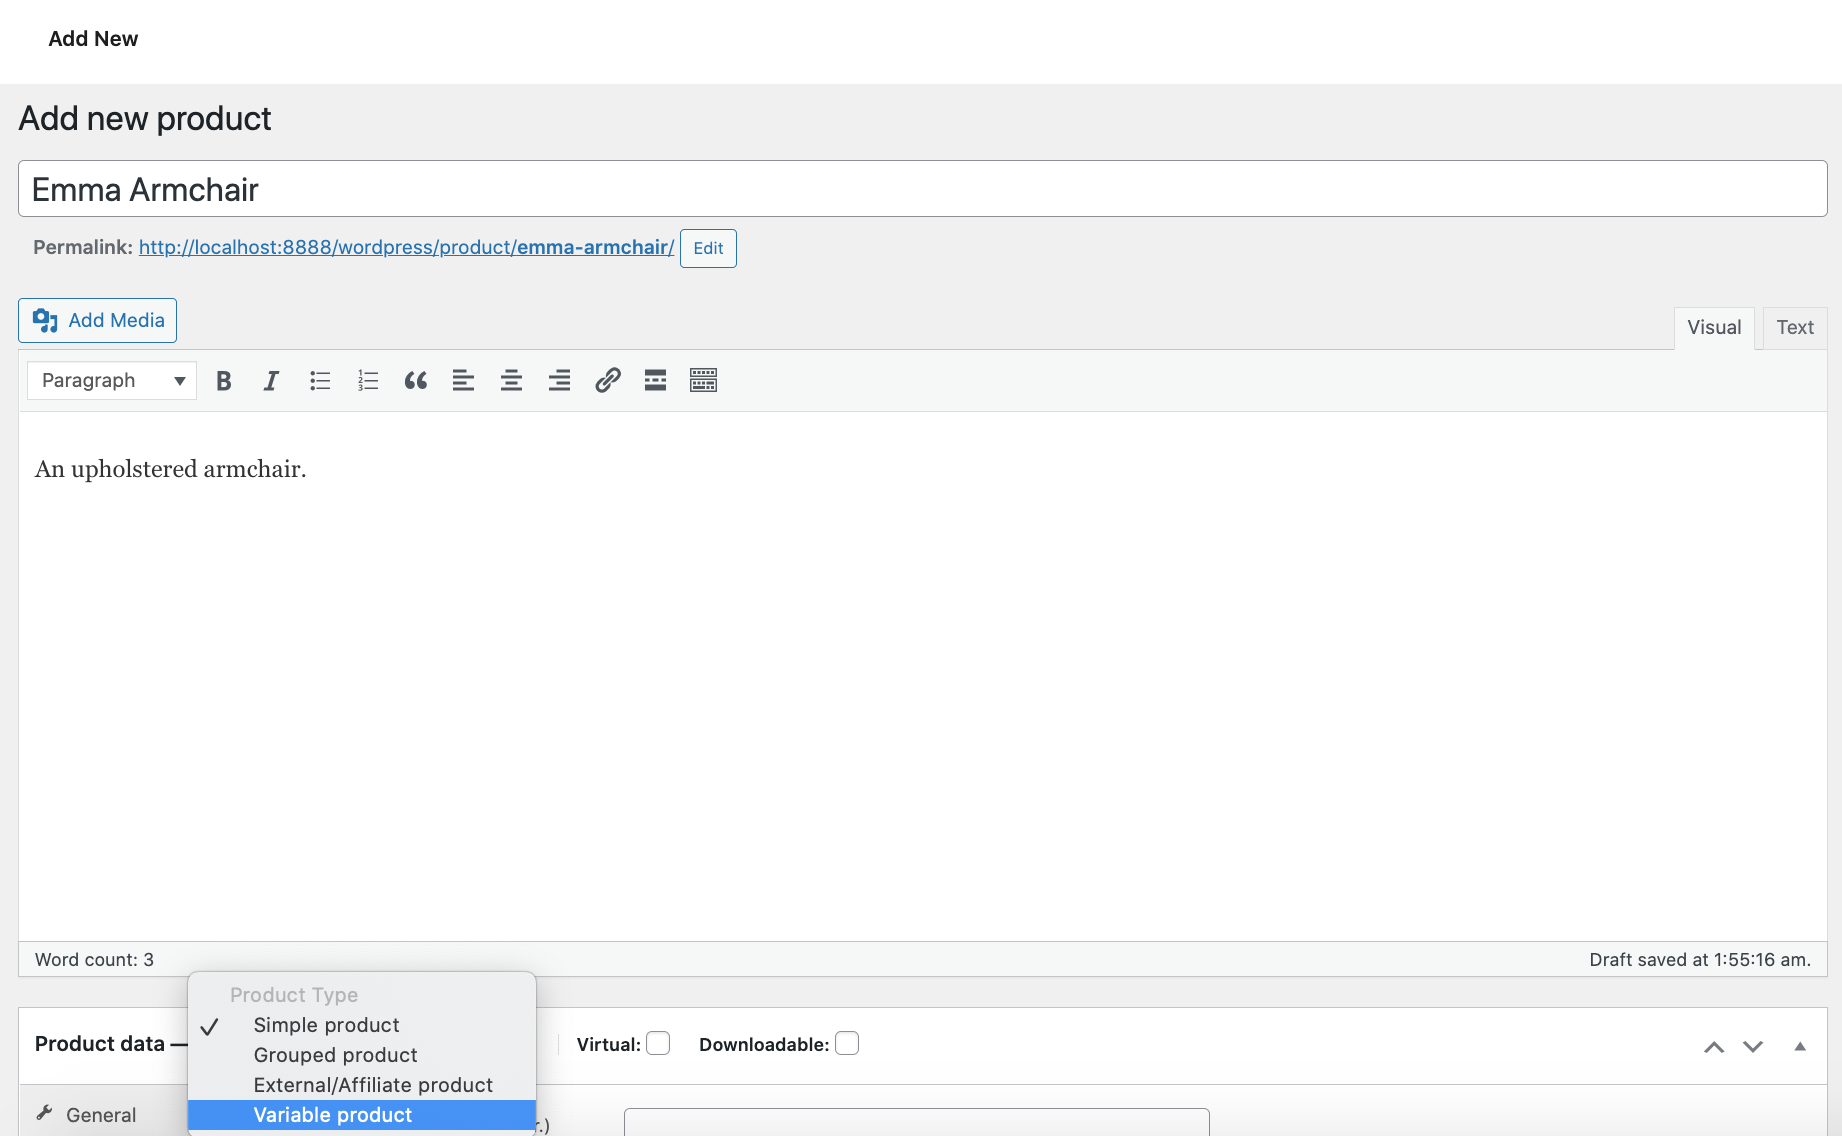
Fill the form and make sure to select the Product Variable option from the product data dropdown box:
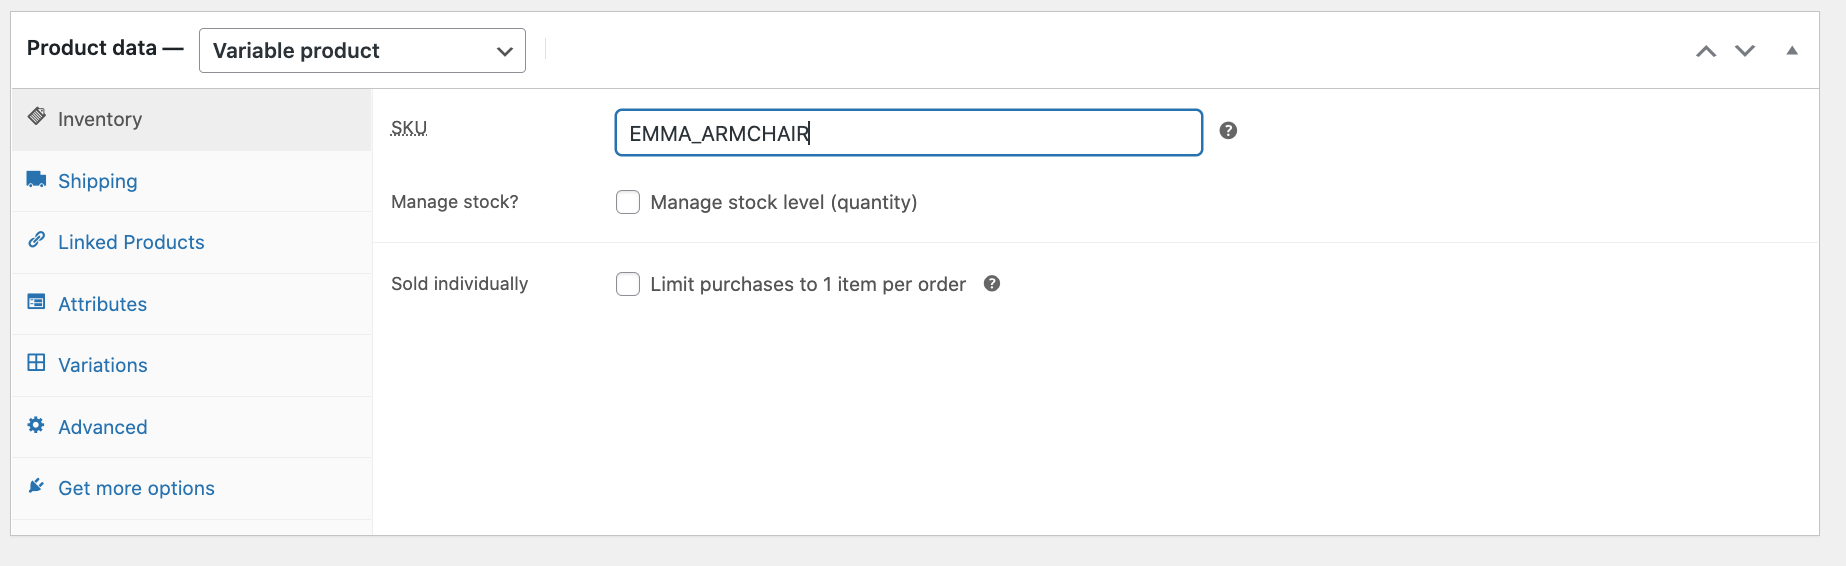
In the below section make sure to fill the SKU input with the Product code provided by Cylindo:
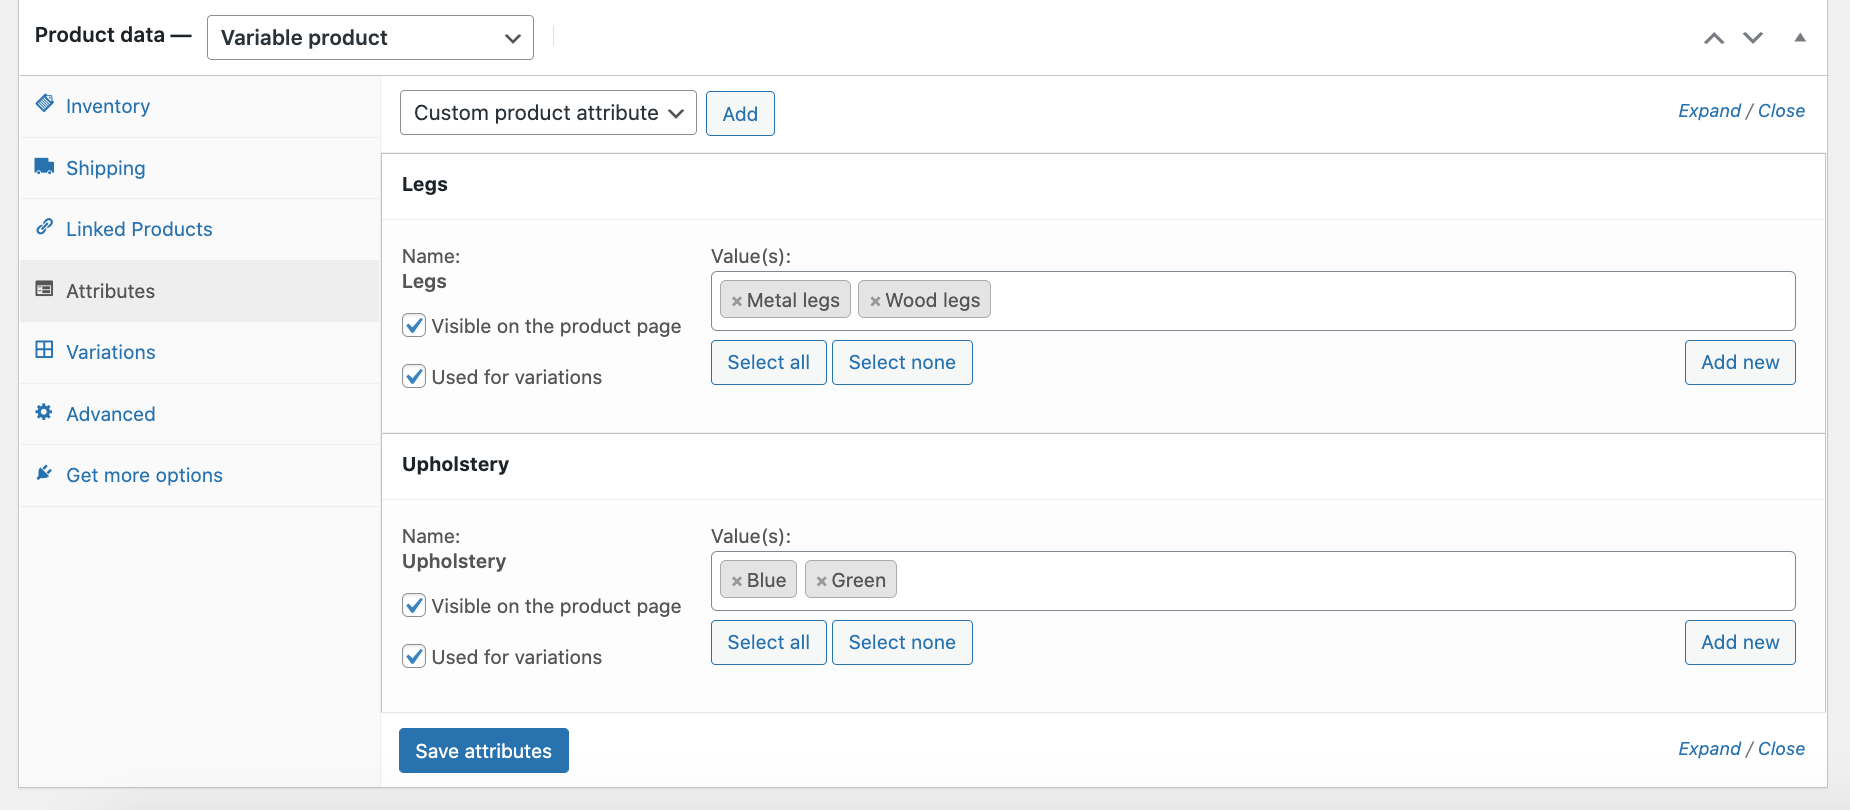
In the attributes menu add the global attributes that we’ve created before, Legs and Upholstery. Make sure to select the option Used for variations. You also need to select the terms available for this product from the terms list, for this case Metal Legs and Wood Legs for the Legs and Blue and Green for the Upholstery.
Save attributes by clicking on the button Save attributes and open the Variations menu from the left panel to create the variations. To create the variations use the top dropdown menu and select the option Create variations from all attributes. It’ll create a variation per combination.
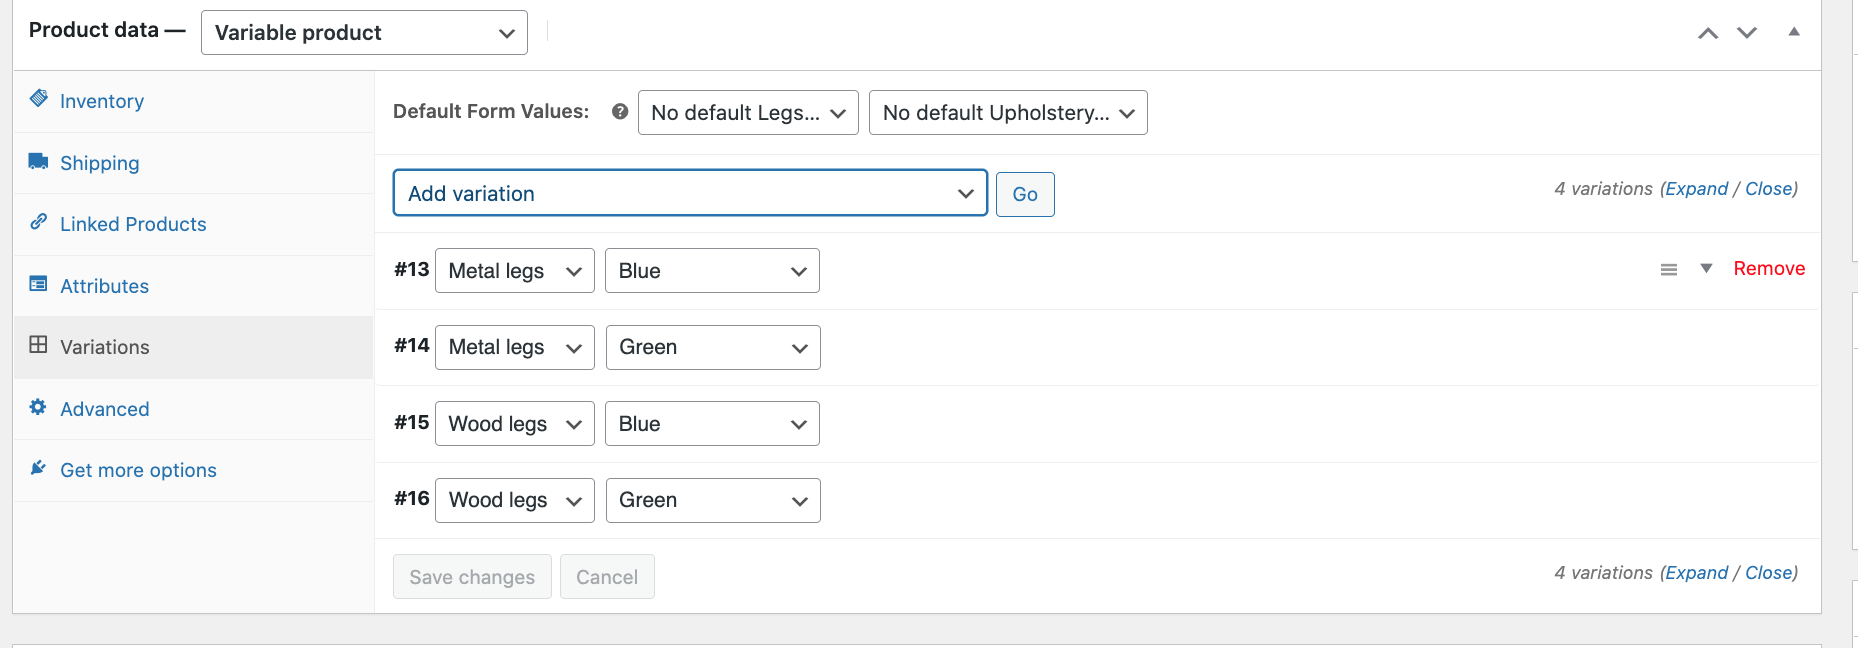
It is up to you if you want to define a default variation.
Fill the rest of the required fields and then publish the product using the Publish button from the top right corner section.

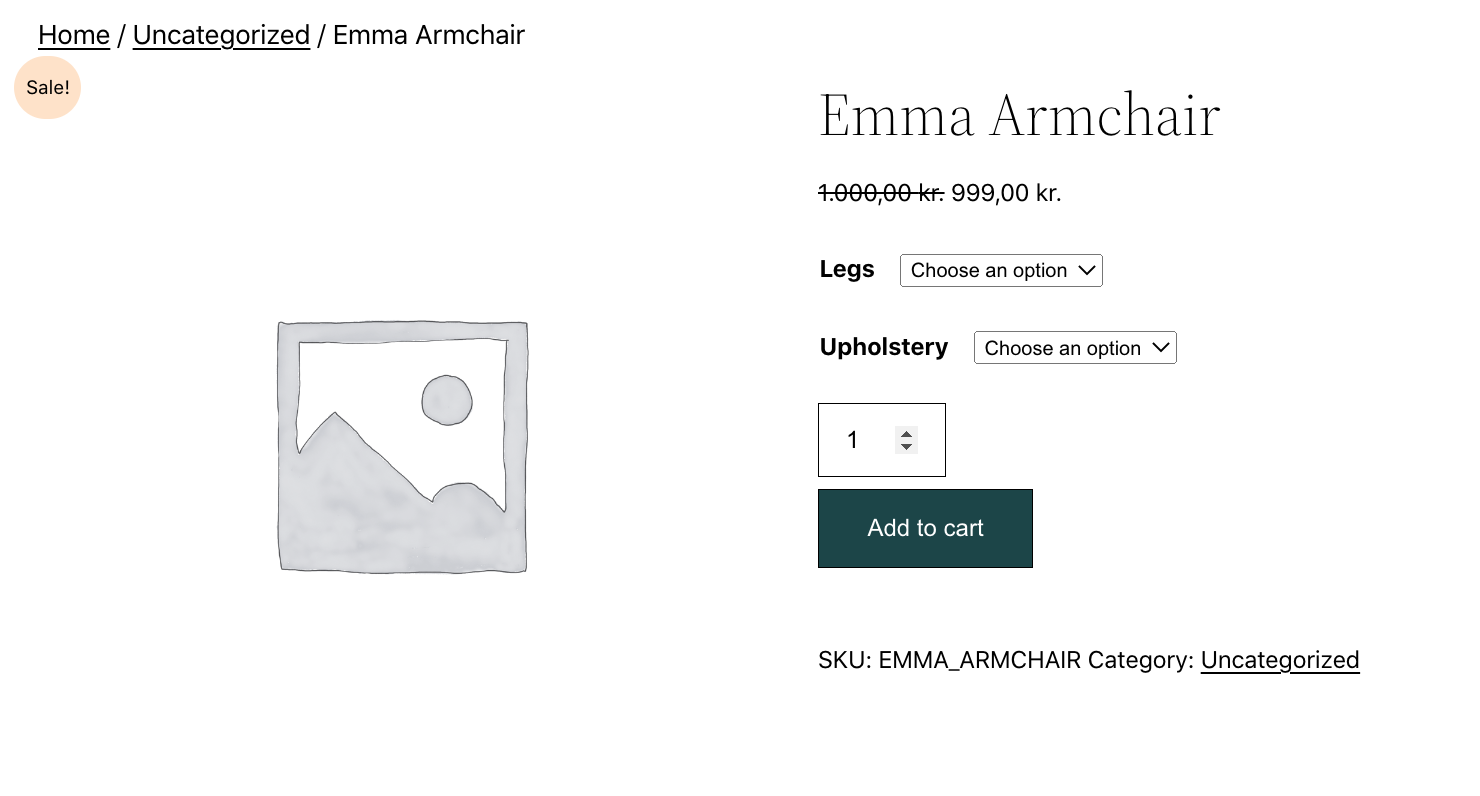
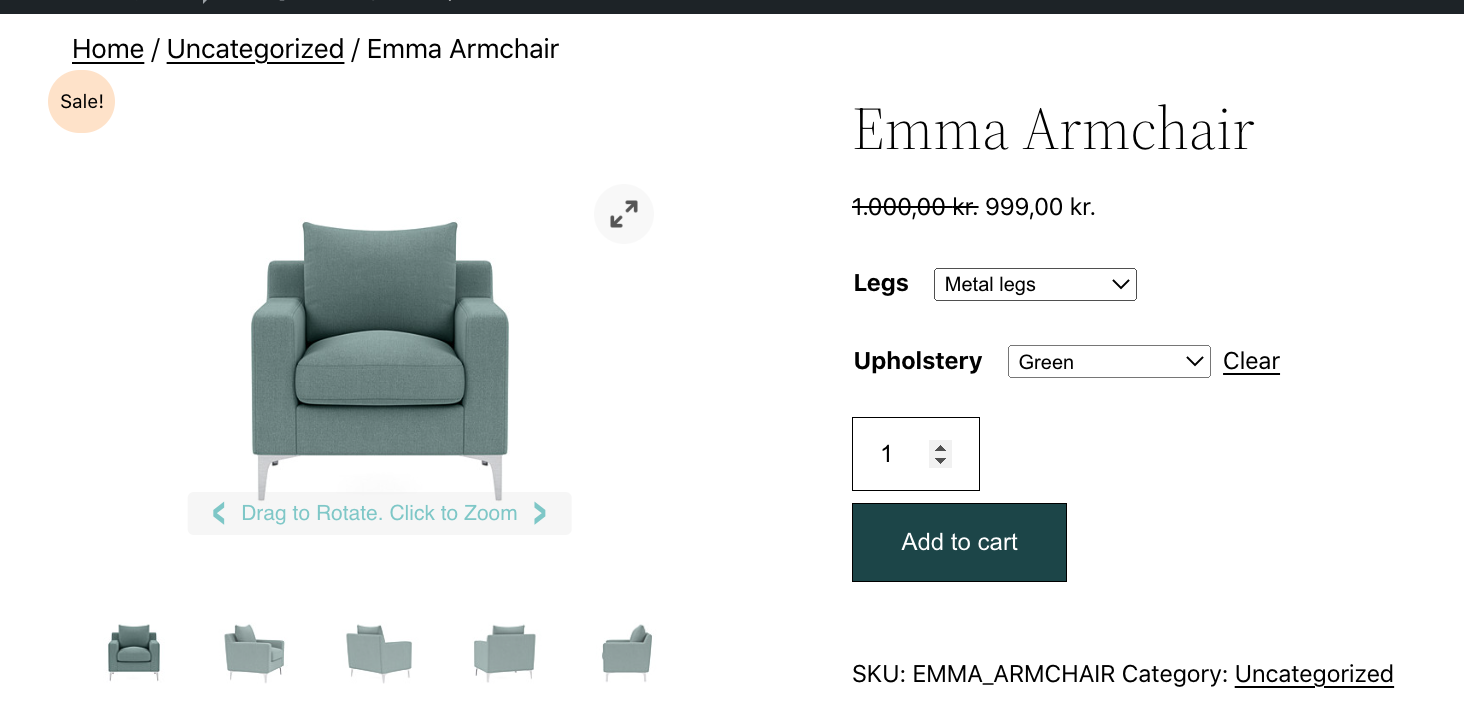
When product is created you should see it like this in the PDP:
5. Viewer Integration
- Download the ZIP file and extract its contents.
- move the folder
cylindo-curatorto thewp-content/pluginsfolder from your WordPress implementation.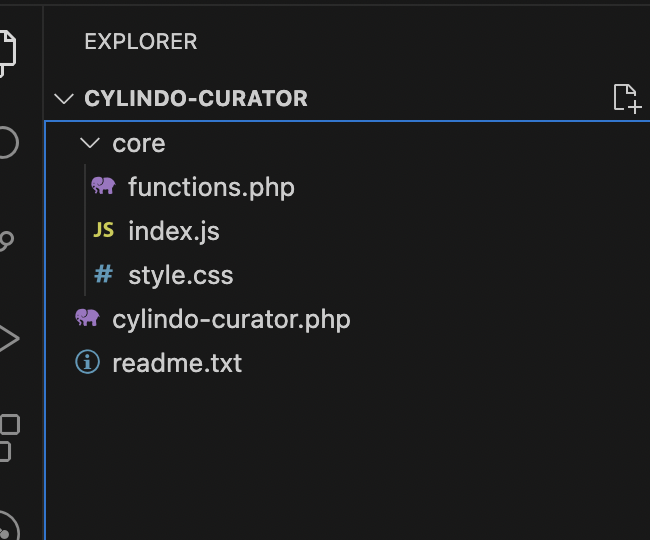
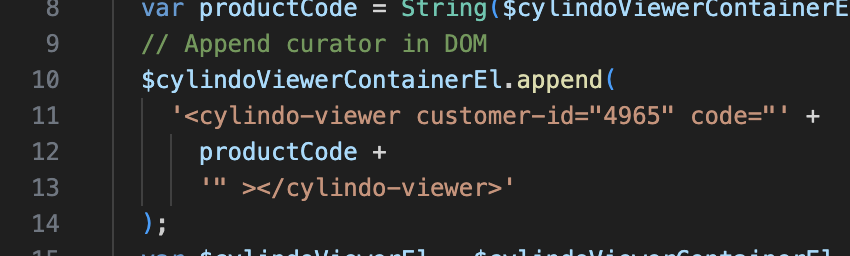
- Edit the file
plugins/cylindo-curator/core/index.jsto configure your account ID
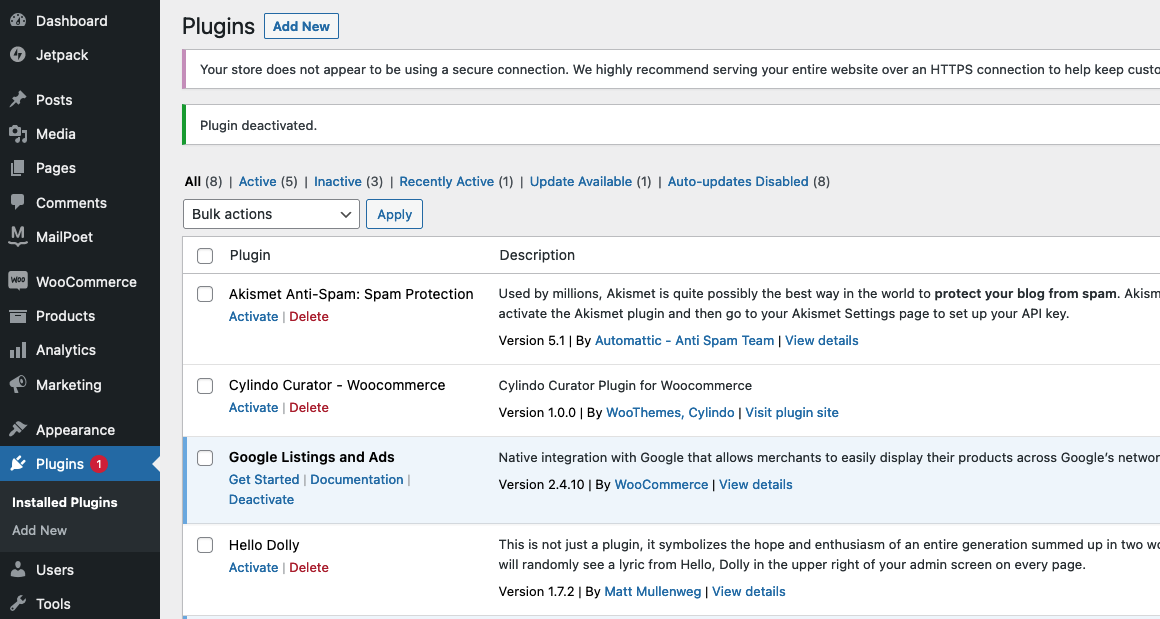
- Activate the Cylindo Curator - WooCommerce plugin via the Plugins menu of the admin panel.
5. Result
When it is enabled the Viewer 5 should be displayed in the PDP:
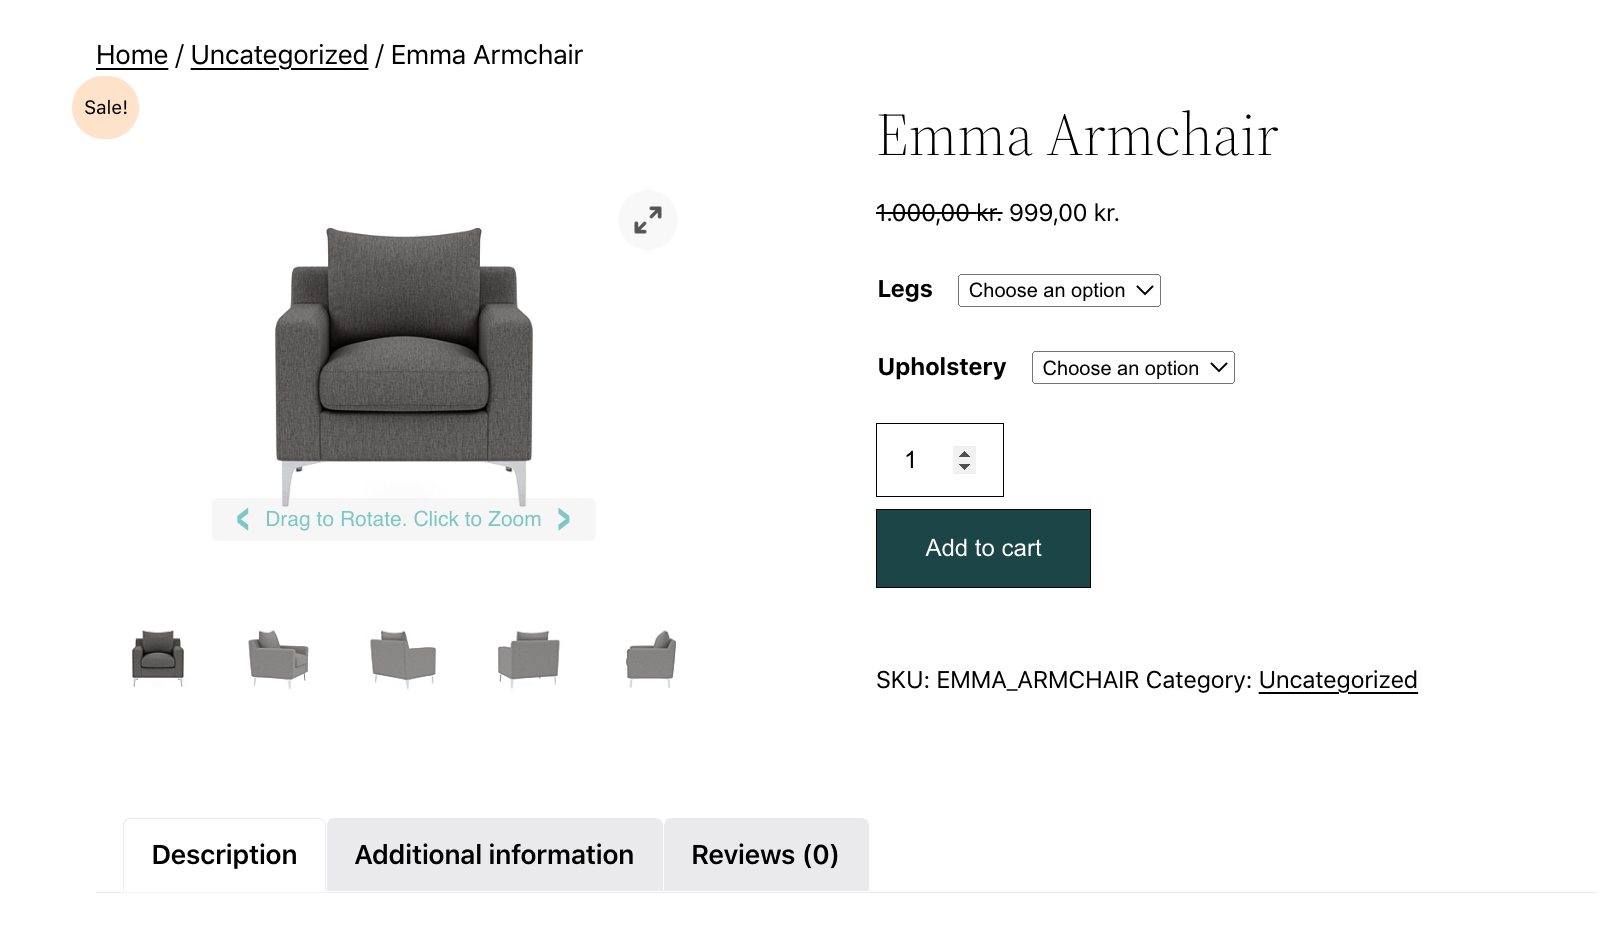
When features are changed the viewer should change:
The provided plugin is optimized for default themes and the Viewer 5's standard view. However, should you need to adjust its functionality or appearance, refer to the following files:
| Modification Area | File Path |
|---|---|
| JavaScript-related changes | plugins/cylindo-curator/core/index.js |
| CSS-related adjustments | plugins/cylindo-curator/core/style.css |
| PHP or HTML template modifications | plugins/cylindo-curator/core/functions.php |
The plugin has been created to override the default gallery from WooCommerce, in case you have already made changes to the PDP you may need to modify the plugin further to get it work.